.png)
Before SSO can be enabled on the Portal, you will need to ensure Microsoft Entra has been set up correctly.
https://learn.microsoft.com/en-us/entra/identity/saas-apps/saml-toolkit-tutorial
Requirements
-
A Microsoft Entra user account
-
One of the roles: Global Administrator, Cloud Application Administrator, Application Administrator, or owner of the service principal
-
Users already set up
-
Alternatively, create users via https://learn.microsoft.com/en-us/entra/identity/enterprise-apps/add-application-portal-assign-users
-
-
A Portal Account with an Administrator Role
Stages
You will need to do the following to set up SSO with Azure.
-
Obtain your Integration ID (See Configure Single Sign On (SSO))
-
Add Microsoft Entra SAML Toolkit
-
Edit the SAML Configuration
-
Configure Application Properties
-
Provide your Metadata URL or Metadata XML (SeeConfigure Single Sign On (SSO))
Add Microsoft Entra SAML Toolkit
-
Sign onto Microsoft Entra
-
In the sidebar click Identity > Applications > Enterprise applications
-
Click Add Application
-
Search for and click “Microsoft Entra SAML Toolkit”
-
Click Create
-
In the 2nd sidebar click Single Sign-On
-
Select SAML
Edit the SAML Configuration
You will need your Portal Integration ID.
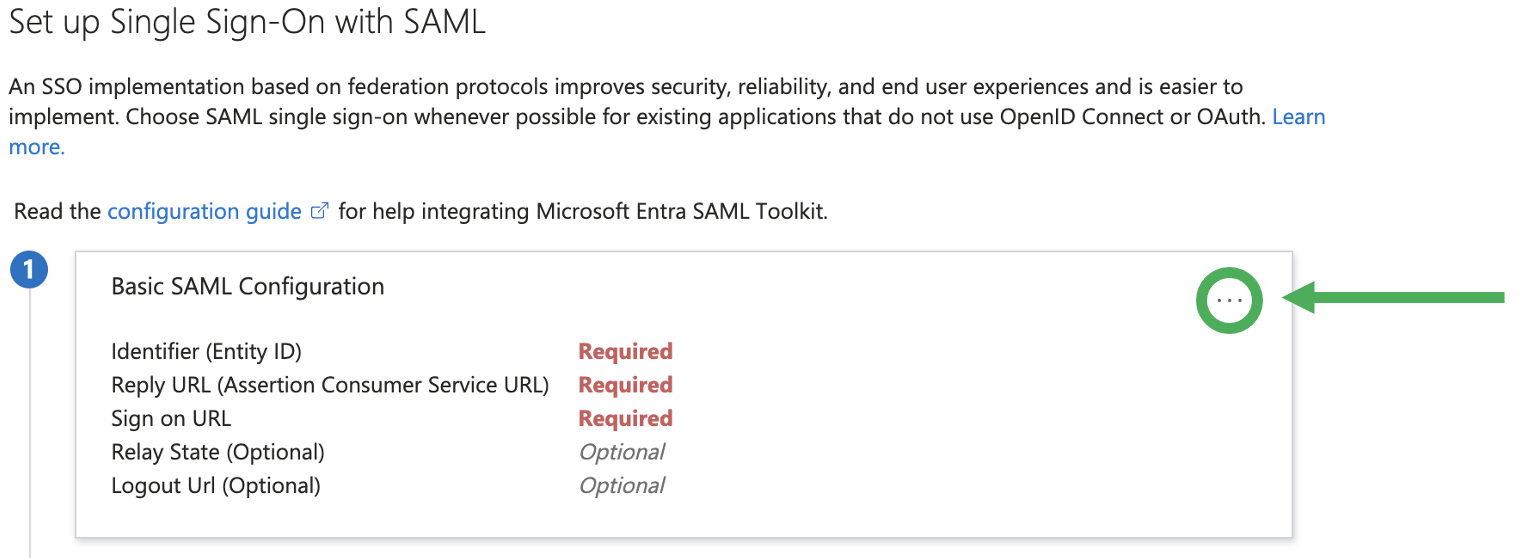
You will then need to configure the Basic SAML Details.
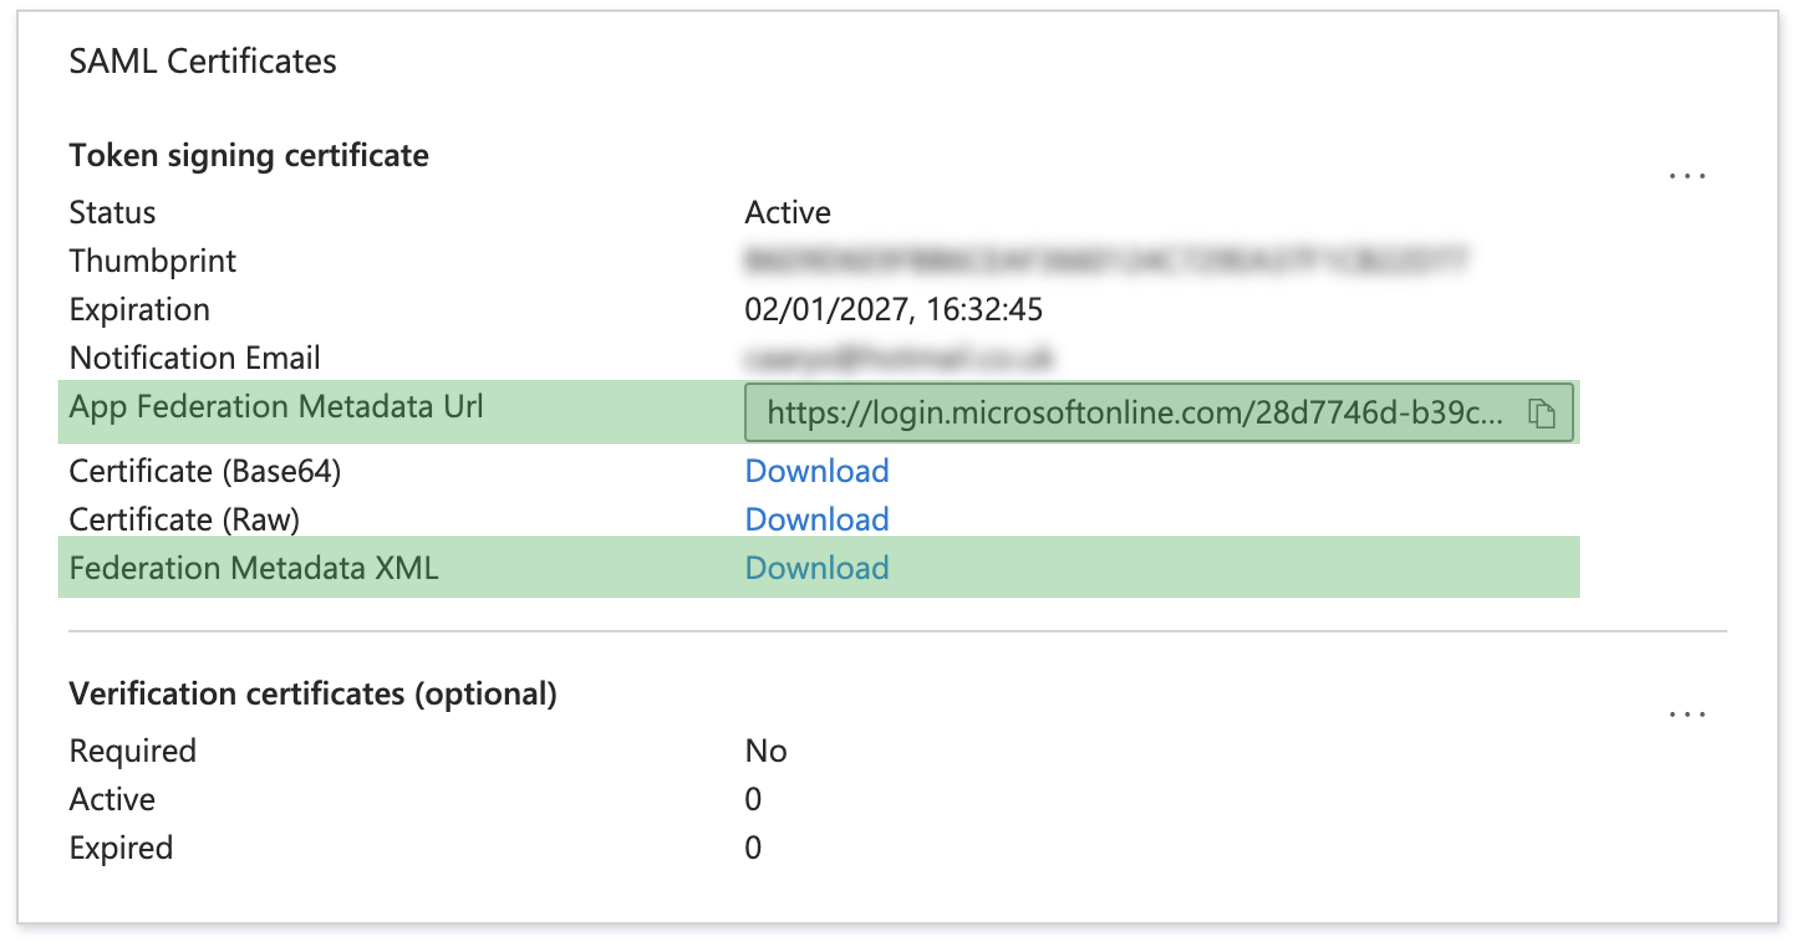
To set up SSO you will need to provide an Entity ID, a Reply URL and a Sign On URL. Then either copy the Metadata URL or download the Metadata XML certificate to begin the configuration process on the portal.
-
Click Edit in the Basic SAML Configuration section
-
Add the following details:
-
Identifier (Entity ID): https://portal.trailermaster.com/
-
Tick the default checkbox
-
-
Reply URL: https://portal.trailermaster.com/auth/callback
-
Sign On URL: https://portal.trailermaster.com/auth/signon/sso/<Integration ID>
-
You can get your Integration ID from Configure Single Sign On (SSO)
-
-
Click Save
-
Either Copy the App Federation Metadata URL or Download the Federation Metadata XML
Configure Application Properties
Now the application is set, you need to ensure users or groups are able to authenticate through this application.
-
Ensure the Application is Enabled for users to sign in
-
Check if Application Assignment should be required
-
If this option is set to yes, then users and other apps or services must first be assigned this application before being able to access it via Users and Groups
https://learn.microsoft.com/en-us/entra/identity/enterprise-apps/assign-user-or-group-access-portal?pivots=portal -
If this option is set to no, then all users will be able to sign in.
-

You can now use either of these to Configure Single Sign On (SSO) on the Portal.