.png)
Go to the Recipients page to see how to get here.
Adding A Recipient
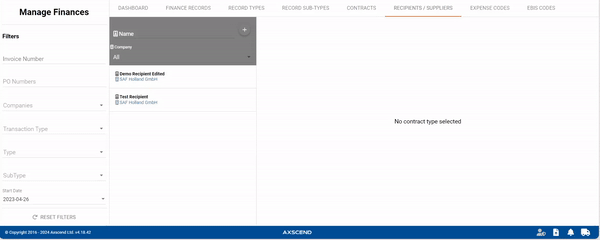
You’re on the Manage Finance page.
You’re in the Recipient tab.
-
Click the Add button in the toolbar.
-
The editor will open.
-
-
Fill out all relevant fields.
-
Click the Save button in the editor.
The recipient has been created.
Required Fields
The Save button will become active once all required fields have been filled out. Required fields are marked with a * and will turn red when not filled out.

Editing A Recipient
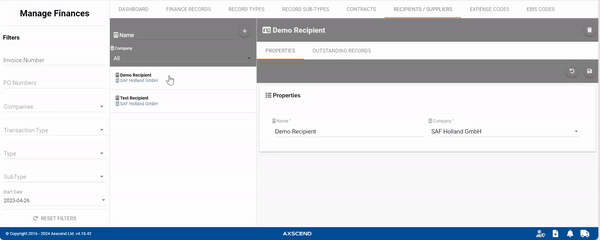
You’re on the Manage Finance page.
You’re in the Recipient tab.
The recipient has already been created.
-
Select the recipient you want to edit.
-
The editor will open.
-
-
Make your edits.
-
Click the Save button in the editor.
The recipient has been edited.
Deleting A Recipient
You’re on the Manage Finance page.
You’re in the Recipient tab.
The recipient has already been created.
-
Select the recipient you want to delete.
-
The editor will open.
-
-
Clickon the Delete button in the editor.
-
A pop-up will open.
-
-
Click the Confirm button in the pop-up.
The recipient has been deleted.